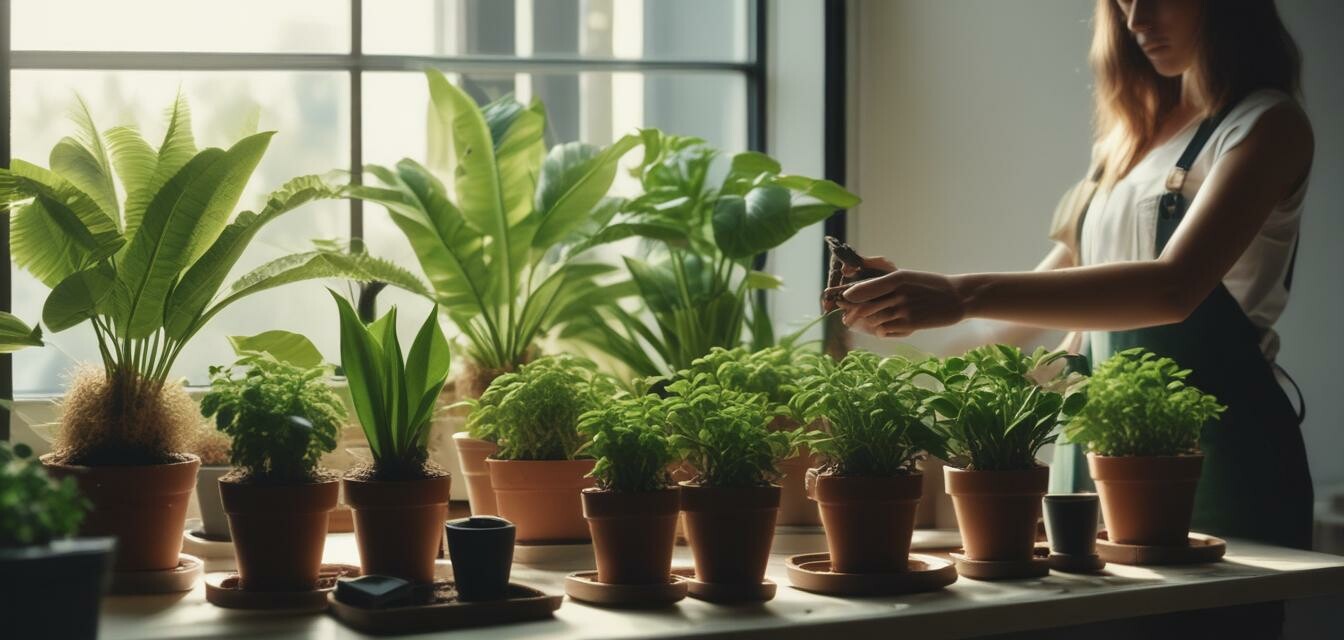
How to Successfully Repot Your Houseplants
Key Takeaways
- Repot when plants become root-bound or outgrow their pots.
- Choose the right soil and pot size for each plant species.
- Handle plants gently to minimize stress during repotting.
- Water thoroughly after repotting to help plants settle.
Repotting your houseplants is an essential part of their care and growth. It allows plants to have fresh soil, more room for root development, and improved drainage. This article provides a comprehensive, step-by-step guide on how to successfully repot your houseplants, ensuring they thrive in their new containers.
Why Repot Your Houseplants?
Understanding when and why you should repot is crucial for maintaining healthy plants. Here are common reasons to consider repotting:
- Root-Bound Plants: When the roots grow densely and wrap around themselves, it’s time for a new pot.
- Soil Degradation: Over time, soil may lose nutrients or become compacted, necessitating a change.
- Size Up: As plants grow, they need more space; repotting into a larger pot provides that.
When to Repot Your Houseplants
The timing of repotting can significantly impact your plants. Here are ideal times to repot:
- In Spring: The best time for repotting most plants, as they are starting their growth phase.
- After Flowering: For flowering plants, wait until after blooming before repotting.
- When Water Drains Slowly: If water sits on top of the soil, it might be time to refresh.
Step-by-Step Guide to Repotting
Follow these steps to effectively repot your houseplants:
| Step | Action |
|---|---|
| 1 | Choose the right time and tools: Make sure your plant is healthy and you have pots, soil, and tools ready. |
| 2 | Water the plant a day before repotting to minimize stress. |
| 3 | Gently remove the plant from its current pot by tapping or squeezing the sides. |
| 4 | Check the roots: Trim any dead or rotting roots with sanitized scissors. |
| 5 | Select a new pot that is 1-2 inches larger in diameter than the old pot. |
| 6 | Add fresh soil to the new pot, ensuring proper drainage. |
| 7 | Place the plant in the center of the new pot and fill the sides with more soil. |
| 8 | Water the plant thoroughly after repotting to eliminate air pockets. |
Tips for Successful Repotting
- Use well-draining potting soil appropriate for your plant type.
- Avoid repotting too frequently; once every 1-2 years is ideal.
- Choose pots made from suitable materials, such as terracotta or plastic.
- Consider adding a layer of stones or clay balls at the bottom of the pot for drainage.
Pest Management During Repotting
Inspect your plant for any pests while repotting. Here’s what to look out for:
- Spider Mites: Look for fine webbing on leaves.
- Aphids: Check stems and undersides of leaves for small, clustered bugs.
- Mealybugs: Identify these white, cotton-like pests on plant surfaces.
If you spot any pests, treat them with appropriate pest control methods before placing the plant in its new pot.
Aftercare for Repotted Plants
Post-repotting care is essential:
- Watering: Ensure adequate moisture without overwatering; check soil moisture regularly.
- Lighting: Place your repotted plant in a location with the right light conditions for its species.
- Fertilizing: Hold off on fertilizer for a month after repotting to allow roots to adjust.
Conclusion
By following this step-by-step guide on how to successfully repot your houseplants, you can help your greenery thrive in its new environment. This simple process not only provides your plants with fresh soil and space to grow but also enhances your indoor gardening experience.
Pros
- Promotes healthier growth
- Improves soil quality
- Allows for better drainage
Cons
- May stress the plant initially
- Requires careful handling
- Potentially messy process
Explore more care tips in our Care Tips section to ensure your houseplants flourish for years to come.

